I've always loved the fun side of Halloween, not the spooky, creepy side. I loved dressing up as a kid and going trick-or-treating. I'll skip the haunted house though.
 I recently purchased a package of those glitter Thicker words like the one that spells out "Halloween" on this layout and they inspired me to dig out some Halloween pictures. This photo of my boys is from 2008. They were so cute and adorable in their costumes.
 I don't have a big stash of Halloween themed papers or embellishments so most of the items on my layout have been around for a long time. The strip of paper on the left is from a 2008 collection by Imaginisce called Eeks and Shrieks. The photo mat in the very back is from Me and My Big Ideas and the skull paper is from The Paper Studio, found at Hobby Lobby and it's called Skull and Crossbones. The purple patterned paper has been in my scrap bin for a long time and I'm not sure who made it. The orange paper is just the back side of the Imaginisce paper that I mentioned before.
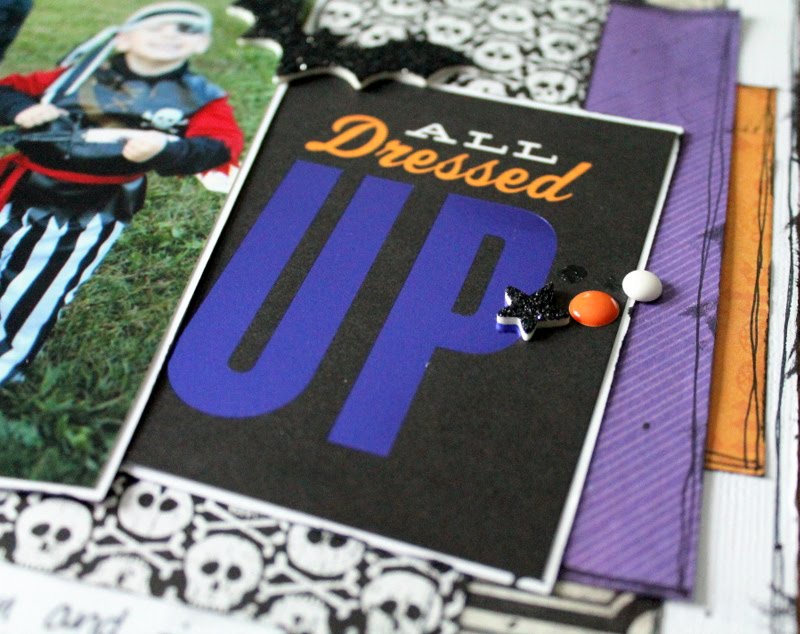
I used a Me and My Big Ideas project life style card to add beside the photo. Although it's hard to see in the photos, the word "up" is purple foil. The word label stickers above the title are from Me and My Big Ideas as well. The foam glitter stars and the bat came from the same Thickers pack as the title.


I used a Heidi Swapp stamp to add some extra embellishing in the top and bottom corners. The washi tape seen on the layout is just from my stash. Along with some Black Velvet Heidi Swapp Color Shine, some ink and doodling on the edges of the layout, I also added a few enamel dots in various colors.
No matter how old your scrapbooking supplies are, get them out and use them. Get those memories documented.


